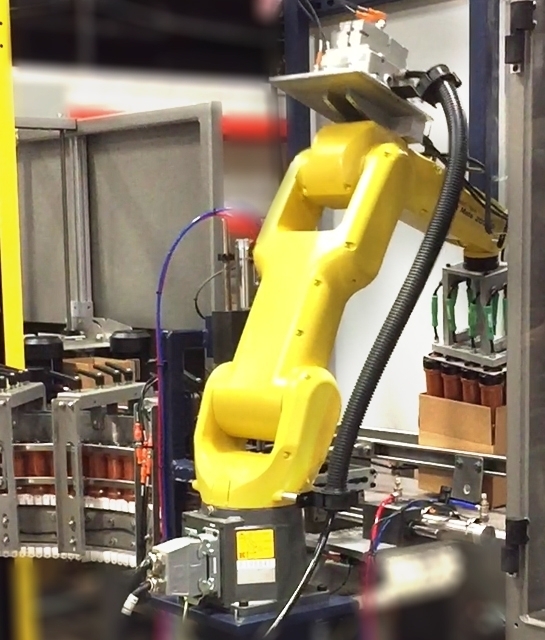
Using the Teach Pendant, you can develop programs that are stored in the teach pendant, and then, more easily and quickly ran when needed. One such program is a zero program. The zero program will run each axis of the robot to its zero position. One use for the zero program is it can be used by operators to ensure robot mastering is still correct.
Running a Zero Program is a good first step to verifying Robot Mastering. To find out more about mastering and to make sure you don’t lose your points, read our How-To Article – How to do a Quick Robot Backup.
What are some clues to look for if you think your Robot Mastering is no longer correct?
- the witness or scribe marks do not line up
- the robot isn’t going to the same position as it used to
Before you can input and run the Zero Program:
- The TP must be ON
- Must be able to reset faults before robot movement
- Controller must be in Teach (T1)
Video goes through developing the zero program to checking robot mastering
Below the video are the step by step instructions.
Step by Step Instruction for Creating a Zero Program to Test Robot Mastering
- Under TEACH options find SELECT
- This brings up a list of previously developed programs which can be selected using the arrow keys and the option to build a new program
- We want to build a new program so on the main menu select CREATE
- To create a teach pendant program, we need to give the program a title – so add a PROGRAM NAME – We will call this program ZERO
- Once the program name is typed, on the main menu select DETAIL
- This next screen shows all the development information for this program including creation and modification dates
- It is important to document the program for other users. So, add a Comment then Select END
- Now Select POINT on the main menu and then SHIFT and then POINT
- Toggle SHIFT off and using the up Arrow move to the first line of the program
- J @P[1] 100% FINE
- Arrow right until the 1 between the brackets is highlighted and on the main menu select POSITION
- The screen changes to show the Cartesian X, Y, Z coordinates – we do not want to set these coordinates our goal is to set the joints to zero. To change to JOINT, onmain menu select [REPRE] and change information shown to JOINT
- Using the arrow keys and number pad move through each axis changing the degree to 0 and pressing ENTER to move to the next joint
- When all joints have been set to zero, go down to the main menu and select DONE
- Going back to the program the line now reads:
- 1:J P[1] 100% FINE
arrow over to the percentage shown and change this to 25%
- 1:J P[1] 100% FINE
- Next arrow back to the beginning of the line and Select SHIFT
- At the bottom select the
 button and going straight up the column to the FWD button
 - The robot moves to follow new Zero Program
- Go back to SHIFT and toggle
- Move down to the number pad and select the Posn button – the screen shows that the joints are at 0. Now select WORLD on the main menu and this shows the Cartesian coordinates
A program does not store both cartesian and joint coordinates only one can be selected.
If you found this video helpful, we have a full series of videos that operators can use to learn more about FANUC robots and operations. You can also subscribe to our YouTube Channel to get updates about new videos.
