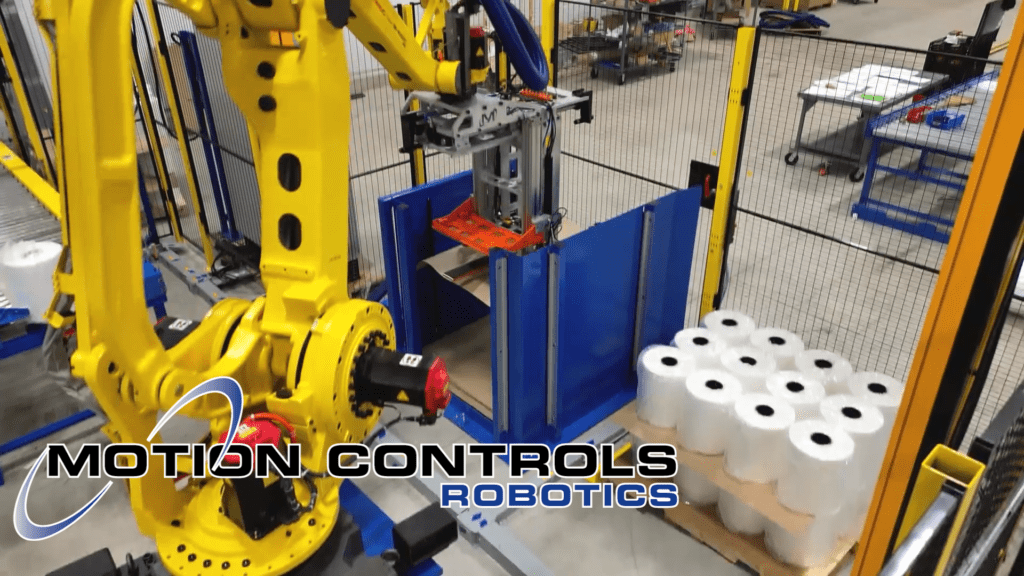
A Palletizing Machine-Dual M-Stack
As an advanced industrial automation palletizer, the Dual M-Stack delivers reliable, high-speed palletizing across two product lines. This system is…
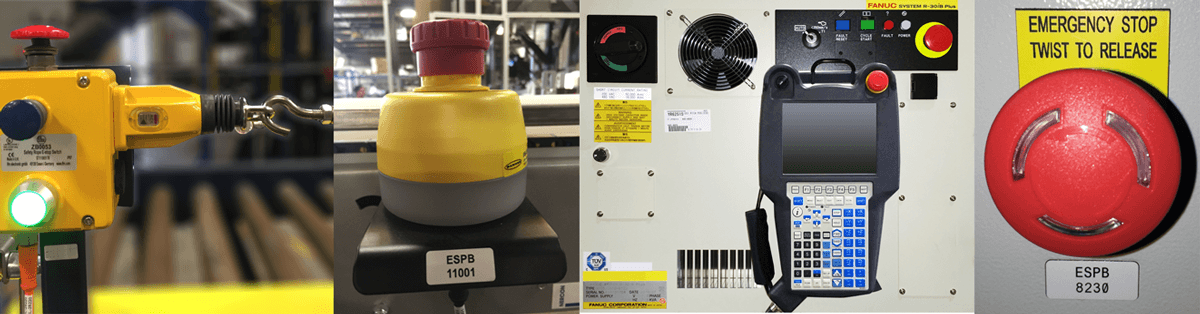
Read ArticleE-stop (emergency stop) push buttons, pull cords, and other e-stop devices are designed to be highly visible by using the standard red and yellow colors. These E-stop buttons and pull cords are positioned throughout the robot system on of a variety of equipment and conveyors. E-stop triggers take precedence over robot motion and shut down the entire system operations when triggered or pushed.
For MCRI systems, when an e-stop is triggered by an operator the entire system shuts down (unless the customer has specifically laid out a zoned plan for e-stops). For all E-stops, resetting is a process and not just as simple as resetting the triggered device. This is to ensure the space around the system is determined safe before the system starts running again. The MCRI process for resetting an E-stop is described at the end of the article.
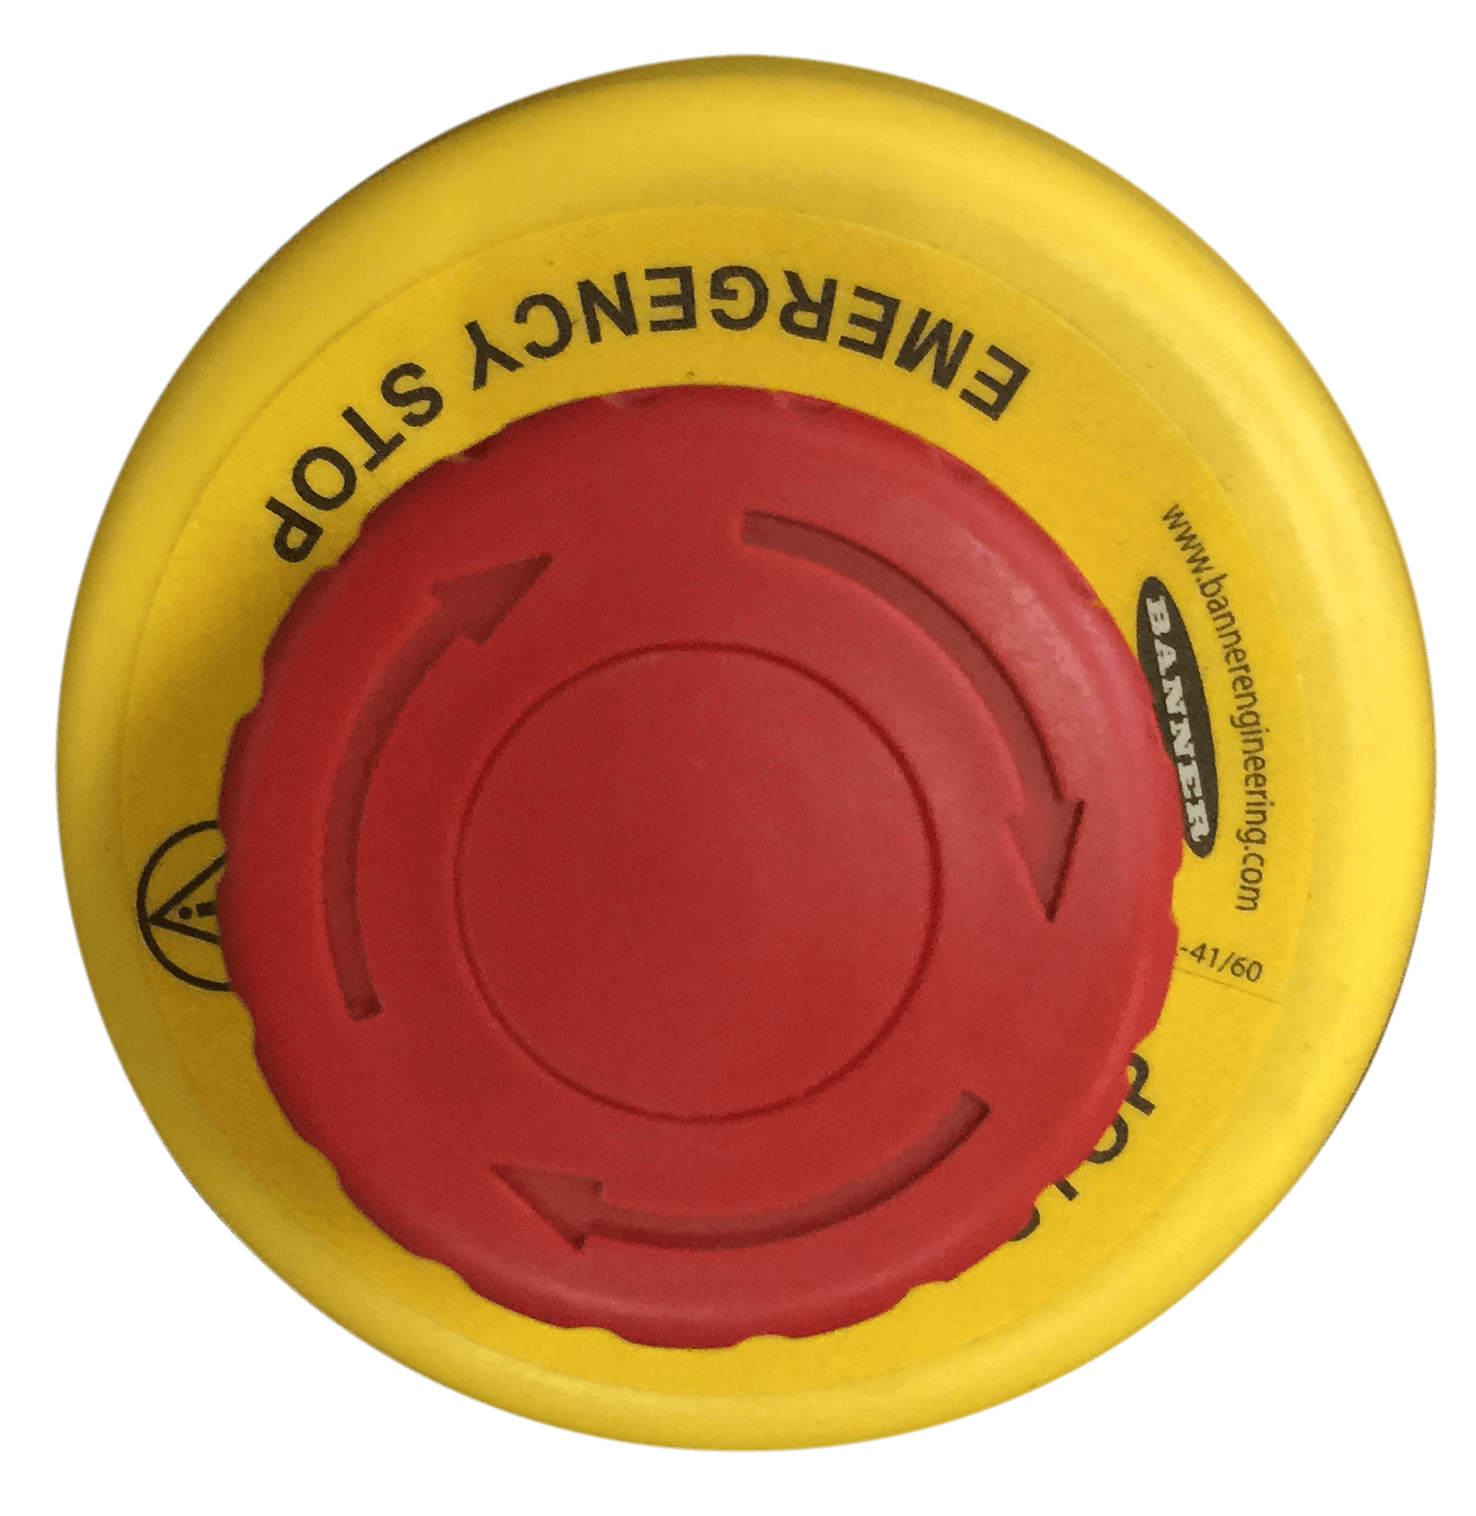
Push button E-stops can be found in most of the locations listed above. E-stop push buttons, similar to above, are triggered anytime someone presses down on the button. The E-stop lights when triggered.
Before resetting a triggered E-stop button the cause of the activation must be determined. Once the cause is determined, a button can be reset by twisting the button, typically counterclockwise, but arrows are required to be present on all buttons to show the turn direction.
Pull cord E-stops are another common type of emergency stop found in robot systems. Pull cords cover long areas mostly along conveyors. The cord can be triggered at any point along its length, which can be over 100 feet. These can be triggered by a person or some object running into the conveyor. 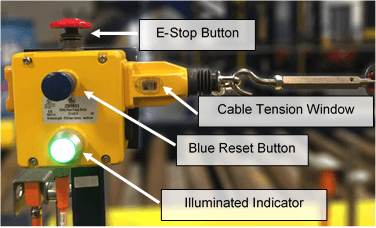
The pull cord E-stop light changes from green to red when triggered. When resetting, first locate and determine the cause of the activation. Then, to reset a pull cord, press the reset button in until it clicks. If a pull cord will not reset, it probably means the cord tension is too loose or tight. There is a small window on the device to check for proper cable tension.
When any type of E-stop is triggered the button must be manually reset at the source of the E-stop and then reset at the HMI.
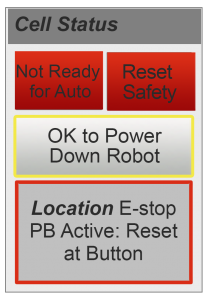
If the active E-stop pushbutton is unknown, the HMI will show the location where you need to reset the button manually.
These are example steps to reset an E-stop triggered in many MCRI systems (these do not apply to all robot systems) * Before resetting a triggered E-stop device the cause of the activation must be determined.
E-stops are in place as a way of dealing with events that could not have been predicted and therefore are an emergency. Unlike other safety features, E-stops do not actively protect the operator but are a way for the operator to immediately stop the system when they see impending danger or damage. E-stops should be pushed anytime there is even a small worry of damage or danger around the system.
– When there are no emergencies, E-stops should not be used as an alternative to the normal powering down of the robot system. The operator should use the HMI to power down the robot or system as the normal, daily routine requires.
– E-stops should not be used when accessing the robot cell. Safety gates have interlock switches. Upon requesting access, the system stops robot motion and then you can enter the cell. We have a How to Robot Series article – How Robotic Cell Entry Works.
– Lastly, E-stops should also not be used in Lockout/tagout situations. There should be a prepared procedure to power down equipment and lockout for work to be done.
Robot system safety is a top priority at Motion Controls Robotics and developing proper E-stop procedures are just one part of the overall safety system that is developed.