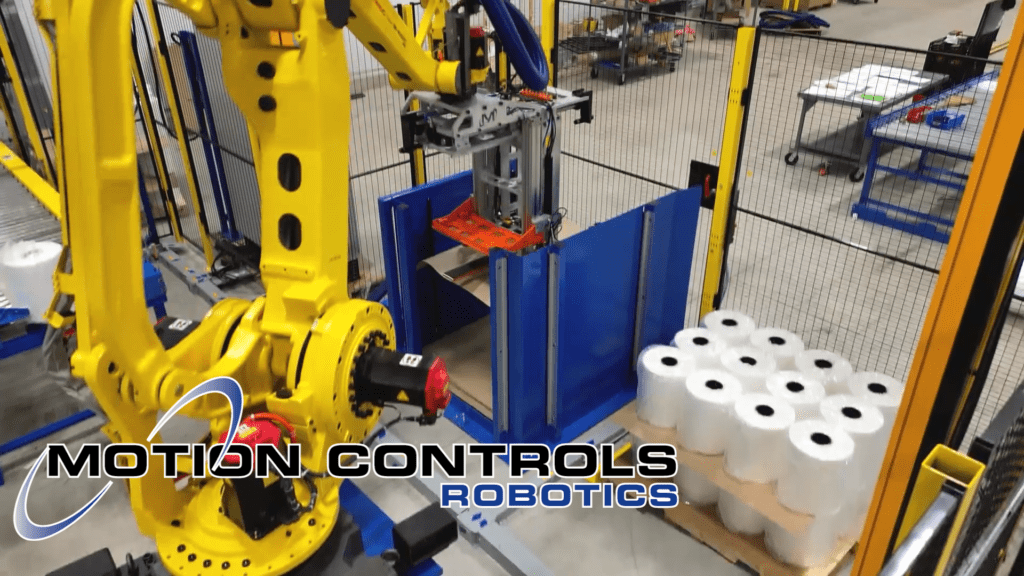
A Palletizing Machine-Dual M-Stack
As an advanced industrial automation palletizer, the Dual M-Stack delivers reliable, high-speed palletizing across two product lines. This system is…
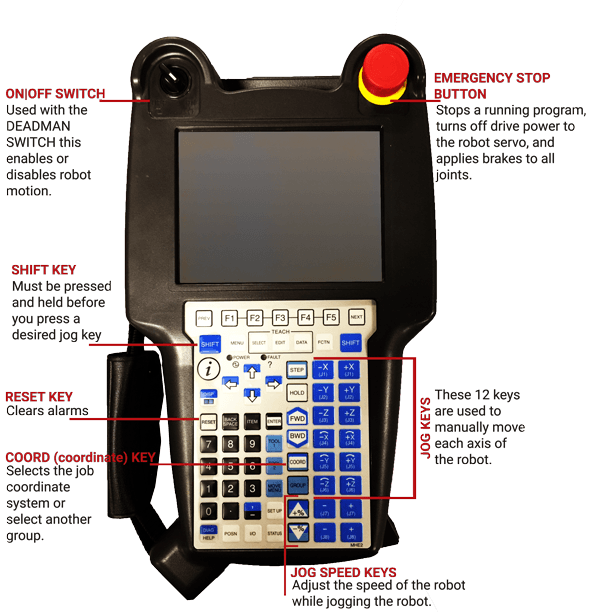
Read ArticleIn this Tech Talk How to Robot Series article we are going to go through the steps to take when you want to jog the robot.
In a robot system you may need to jog the robot if:
Set the controller key to T1 or T2 before squeezing the DEADMAN switch. Switching modes while the DEADMAN is held can cause a fault.
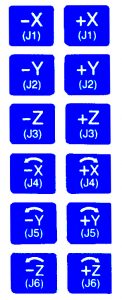
The options for this include:
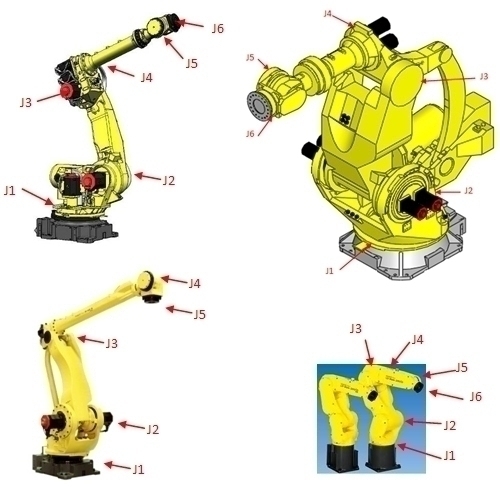
For our example, we jogged in the Joint System, so that we could show moving each Joint separately. You can go through the process with the video or you can use the write-up below.
| Message | Why it happens | What to try |
|---|---|---|
| JOG-007 or JOG-010 | Jog key pressed without SHIFT or in wrong sequence | Hold SHIFT first, then press the jog key |
| Singularity warning | Wrist alignment near a singular posture | Jog J4 or J5 a few degrees to change the posture |
| No motion with deadman held | Deadman fully depressed or not in first stage | Release fully, re-engage lightly, confirm T1 or T2 is set |
| Axis limit or safety stop | Joint limit reached or interlock open | Reset, verify interlocks, jog away from the limit as directed |
*If you need to quickly stop robot movement, release the DEADMAN Switch